My Store:
Change Store
My Store:
Change Store
  • How to: Make Parquetry Louis Cubes

How to: Make Parquetry Louis Cubes

Parquetry Project: Making Louis Cubes


A contemporary treatment of a Louis Cube design.

Surface decoration of furniture used to be very popular in times past. These days a clean simple streamlined look is popular, but there is still a place for appropriate surface decoration to lift a piece or to add a wow! factor. As long as it’s not overdone, simple parquetry can be a very effective means of surface ornamentation, and it can be coupled with inlay techniques to enhance the effect even further.

There is often some confusion between the terms “parquetry” and “marquetry” and the terms are often used interchangeably. Parquetry is the arrangement of veneer (or wood blocks in the case of flooring) in a geometric pattern whereas marquetry is the craft of applying pieces of veneer (or other materials) to form decorative patterns often pictures. The techniques used for the two crafts are quite different.

Louis cubes are named after French King Louis XIV in whose reign this pattern became popular. But this design has actually been around for a very long time and was used in Greek and Roman floor tiles. By using three different coloured veneers (or tiles) cut in a diamond pattern it is possible to make a series of cubes with a surprisingly effective 3D effect. Diamonds cut in the same way can also be arranged to make a star and other patterns.

Cutting Veneer
Before getting started on the cubes some background on cutting veneer will be useful. There are a number of different tools for cutting veneer including blades, knives, saws and wheels. A safe edge razor blade is inexpensive and useful but they are becoming harder to obtain these days. A scalpel blade fixed in a handle is another useful blade as is a craft knife. Another device is a wheel which was designed for cutting fabric but which is really useful for making cross grain cuts. The best way to cut veneer, whatever tool you are using, is to make a series of cuts, rather than trying to cut all the way through at the first cut. All of these knives have a V shaped cutting blade leaving a bevelled cut so it is important to know which is the upper and lower side of the cut and to maintain some consistency.

Veneer saws have a curved blade and no set on the teeth. One way of sharpening a veneer saw is to have one flat side and one bevelled side, somewhat like a chisel. The flat side is used against a straight edge producing a vertical cut on that side, and a bevel cut on the opposite edge. To make a cut in veneer, it is placed on some sacrificial ply or MDF or a self-healing board and the cut is guided with a straight edge.


Some useful tools for parquetry.

Cutting Louis Cubes
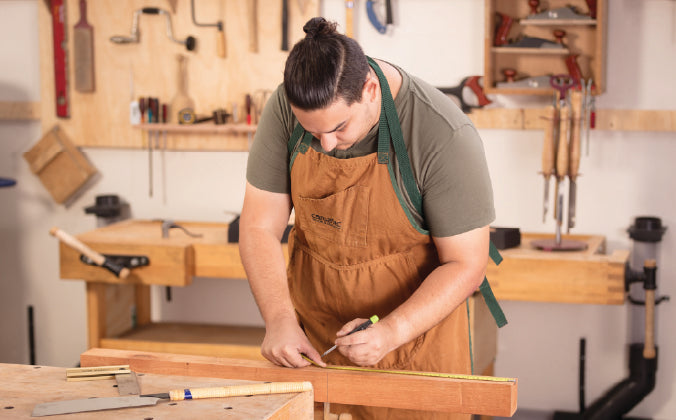
The basic shape required is a diamond with 60° corners. The distance between the two parallel edges must be the same in both directions. This is easily achieved by using a metal rule against a fixed baton to cut strips of veneer and then to cut these strips at 60° using the same metal rule.

To maximise the 3D effect of the Louis cubes it is important to take care in selecting the three different coloured veneers. Basically you need a dark, a medium and a light coloured veneer but it’s best if these colours are in the same tonal range. I often use Jarrah, Queensland cherry and Silver Ash. It’s also worthwhile playing around with the grain direction of each of the components to get the effect you like best. Once you have decided on the grain direction though, you have to stick with it as it really is surprising how a differently assembled cube will stand out in a design.

I place the 3 colours in different piles and then begin to assemble the cubes, working from the glue side which has the coloured pencil markings. If you are making a rectangular or square pattern of cubes it is a good idea to assemble the design over a marked up surface and I find that a cutting matt is ideal. I assemble a row of cubes along the bottom edge using a straight edge as a guide, then I start building up the two vertical edges using the layout lines on the matt as a guide. Check frequently with a right angle square to make sure that the points are in line.

The next step is to fill in the middle of the design with cubes. It would be terrific if the design all goes together easily but that is rarely the case. A minute deviation from square of any one of the cubes will throw the whole design out so a good deal of tweaking is often required toward the middle of the design. It is important to keep the vertical and diagonal lines of the design intact even if this means changing the dimensions of individual diamonds from time to time.

When the design is done, turn it over and apply veneer tape to the other (non-glue) side and remove the blue tape from the glue side to make the design ready for glue up.

Step by Step Instructions

First of all cut the sheet of veneer to the approximate length of the metal rule you are going to use. For this type of cross-grain cut, I find that a pair of scissors is the best tool.


Then mark one side of the veneer with a red colour pencil so that you know which side was up when you made the cuts. This marked side will become the glue side as it will have the widest gap between adjoining strips of veneer, being the most open side of the V cut. It may not seem like much of a gap, and in fact it is almost imperceptible when a dark and a light veneer are joined. But when two veneers of the same colour adjoin, the gap can be quite noticeable.

Now true one edge of the veneer sheet using a long straight edge.

Then place that trued edge against the baton and cut a series of strips of veneer, all the same width, by using the metal rule on top of the veneer and pressed against the fixed baton.

Tape the strips together, but with a 60° offset at the ends.

Place a long edge along the baton and use a plastic triangle to guide the metal rule to make a 60° cross-grain cut at one end of the strips.

Now place that cut edge against the baton and use the metal rule to cut cross-grain strips.

Remove the tape to free the diamonds. Repeat this process for the other two colours.

Start assembling the cubes, taking to consistently orient the grain in the same way in each cube, taping up the pieces as you go. Flip the pieces over to see the pattern.

Using the same diamonds, you can also make other patterns, such as a star.


Three variations using the same diamonds.

Assembling a Louis cube design on a cutting matt and the design flipped over.