A Drawing Template For Spindle Turning
A Drawing Template For Spindle Turning
|
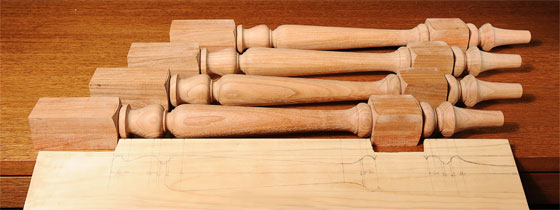
Robert McKee has been teaching woodturning and joinery to adults for over 25 years. Originally he trained as a wood machinist, but relatively early in his he discovered that teaching was the thing that really motivated him. Making the Template Turning a single leg and getting the design you want is one thing, but to make the other three look the same can be tricky. A hand turned set of legs will always have some variation from leg to leg - this is part of the charm of a handcrafted table. in order to look professional, they to be as close in appearance as they can be.
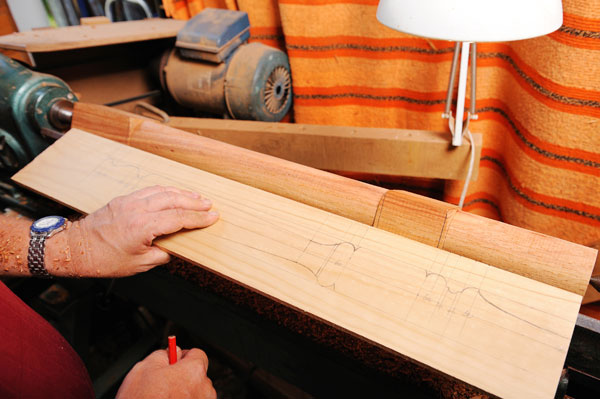
Either design the leg from or if you have an existing table leg you like the shape of, transpose some of its features onto your template to form the basis of the new design. In this Robert had a leg design that suited us well, but it was larger in diameter than our timber allowed for. He modified the measurements to suit.
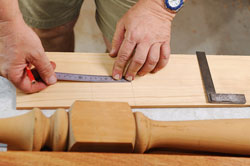
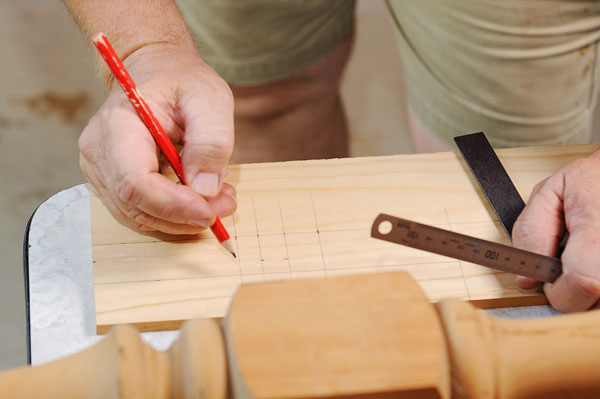
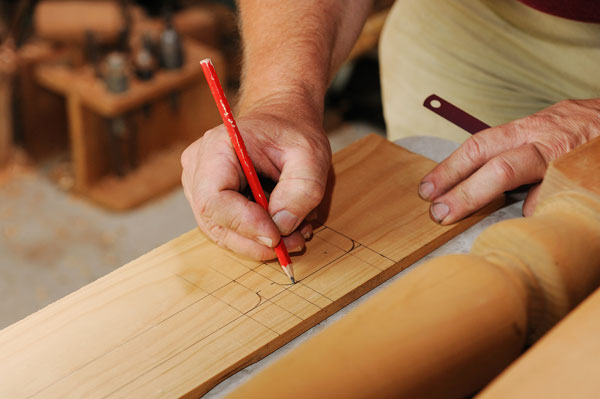
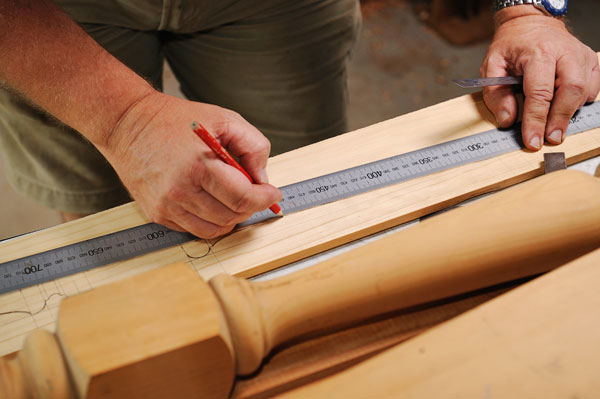
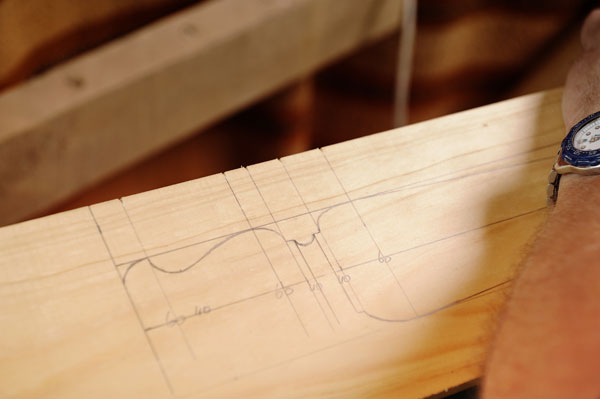
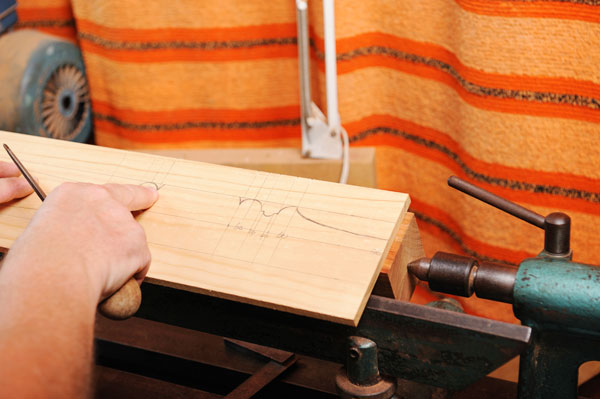
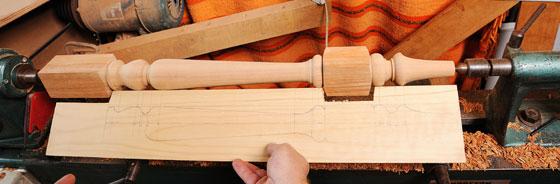
Carefully measure and mark the points where you want features such as or beads to be. Mark the distance between them and also the diameter required at each of these points. Record all the measurements on the template as well. You will need to use a bit of imagination to draw your leg design and give it the style you require for your project.
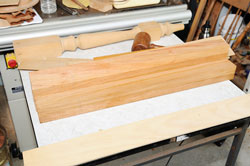
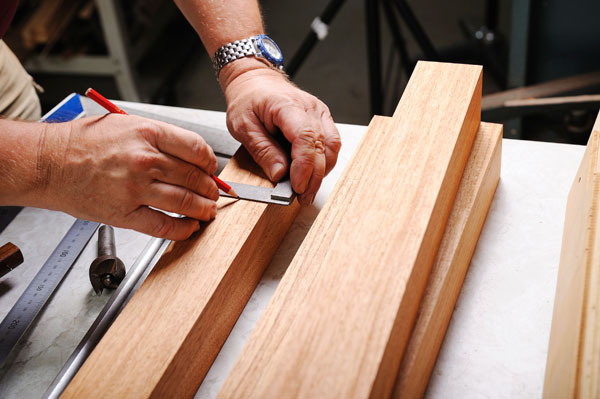
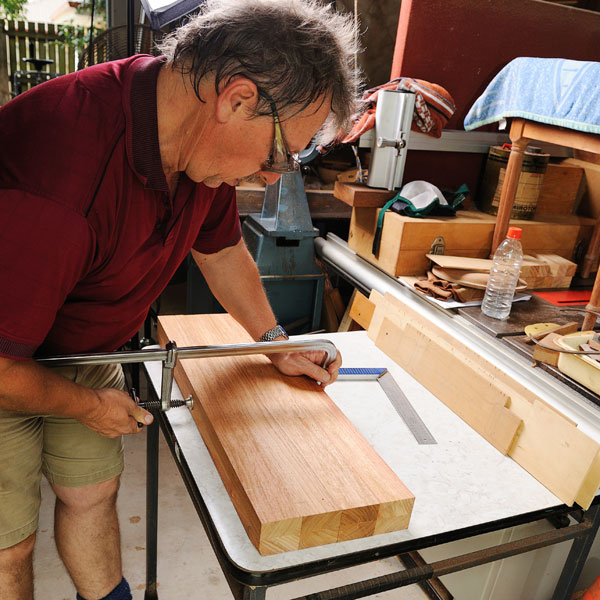
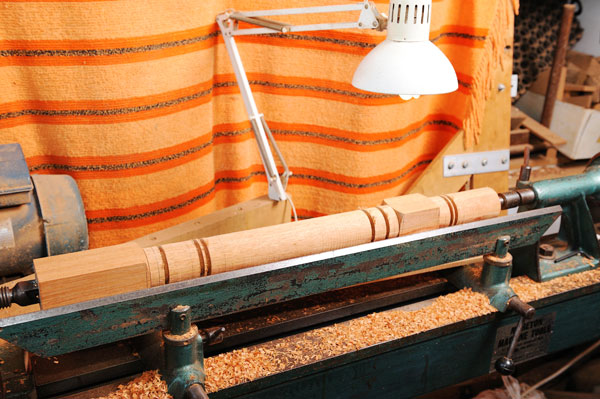
Preparing The Timber The plan for our project is to make a traditional hall table from New Guinea Rosewood with turned legs and a shelf near the bottom. The legs and rails will be mortised and tenoned. The turned legs will have an additional square section at the bottom for cross rails that will support the shelf. The timber is square dressed to 60mm x 60mm and cut to a length of 750mm.
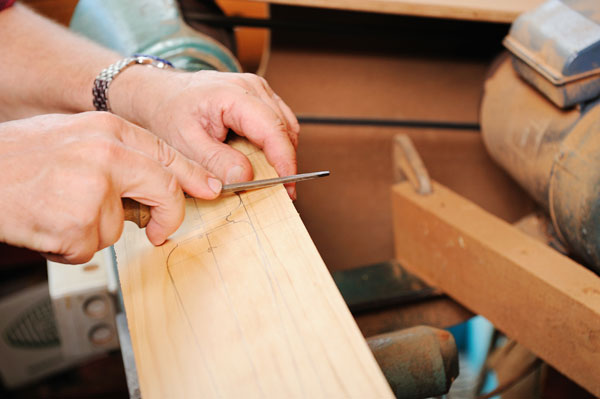
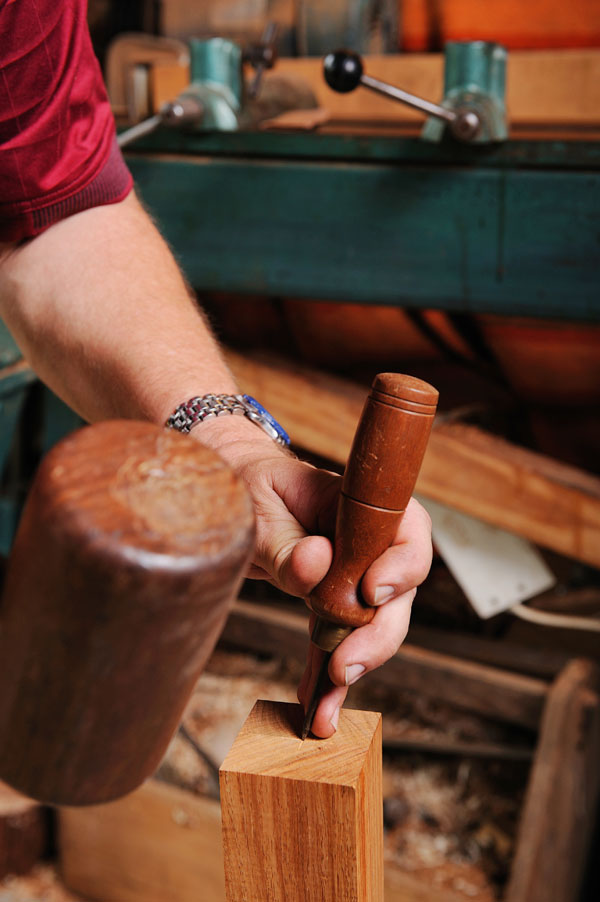
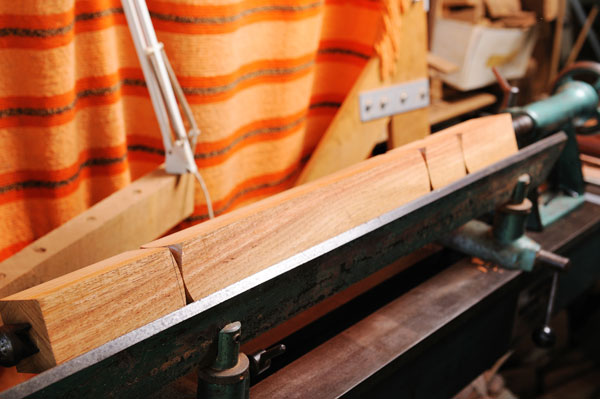
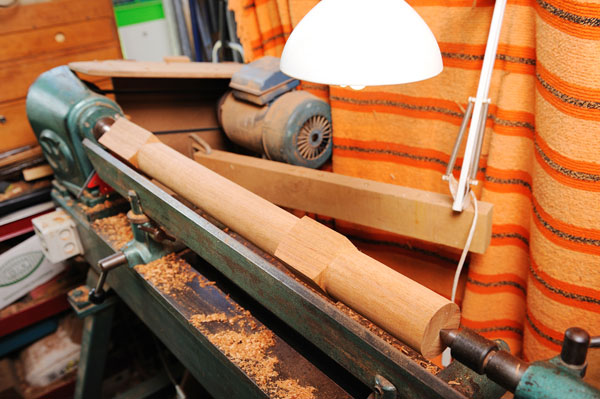
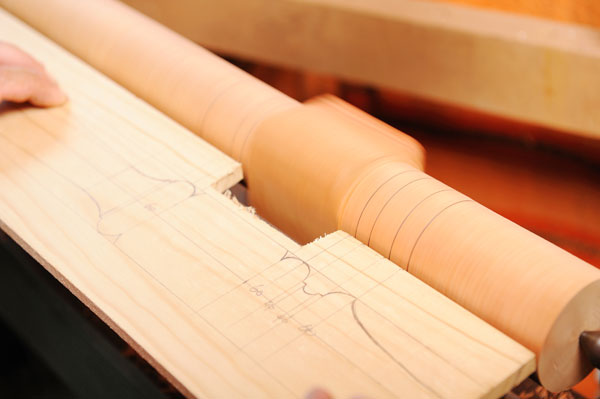
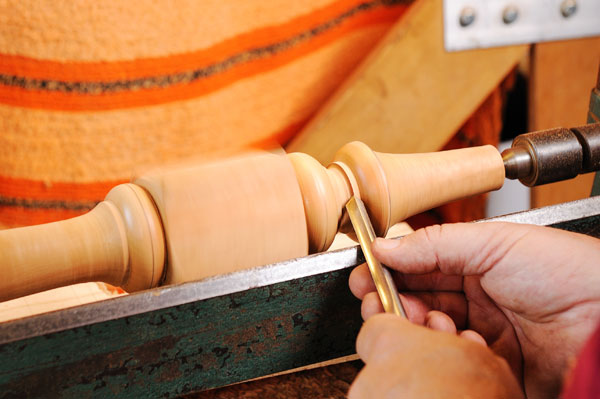
The leg blanks are fitted onto the lathe and Robert uses a skew chisel to separate the sections that will be left square from the section to be rounded off. He rounds the edges of the shoulder over slightly and roughs out the rest of the leg blanks.
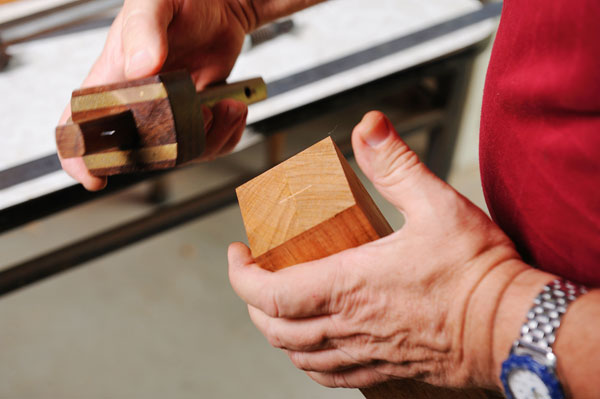
The square section can be cut out of the template to enable it to sit right up against the leg. This is the point where the marking-out lines can be transferred onto the leg.
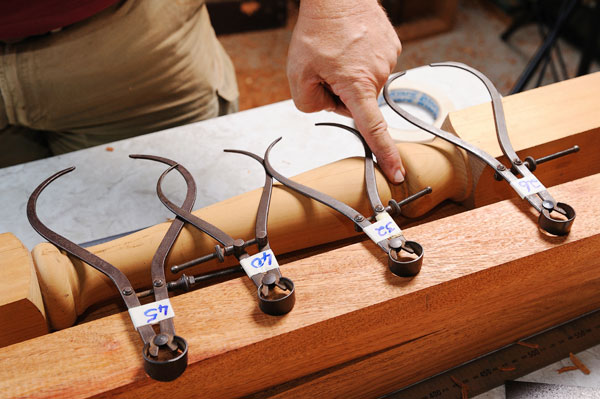
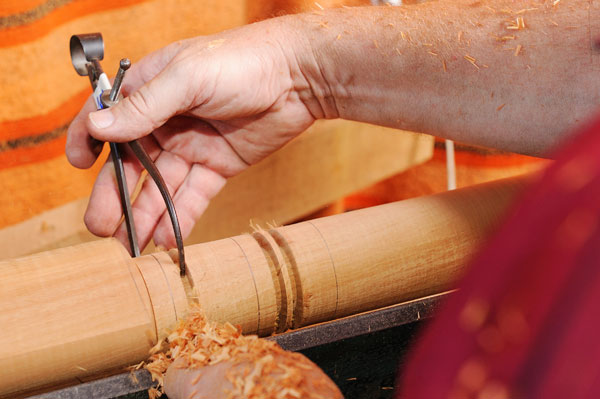
A series of pre-set to the range of diameters that feature in the leg design will ensure uniformity across all four legs.
Providing the template is used as the reference for each leg and the measurements are strictly adhered to, the four legs should be the same.
Keep and eye out for the Hall Table Project, coming soon! |