Written by Allan Short.
Allan Short works in our Customer Call Centre at Carbatec Brisbane and is an esteemed woodworker.
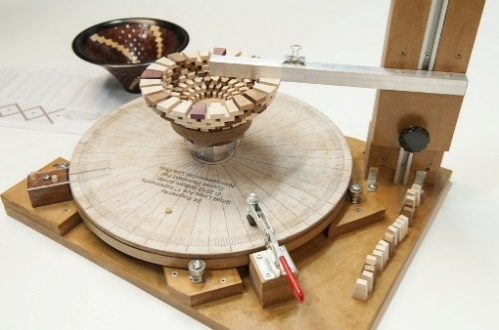
This open segment jig is not complicated to use but has required thought and planning to construct so here is a summary of how I made my jig.
Firstly, the design of your work is more easily accomplished using some computer software, but more on that later.
If you are interested in making this jig please watch the following videos which is where I obtained my ideas and so I’ll only be explaining what I changed and why.
Videos:
The jig basics
http://dennyedwards.com/New%20Movies/files/page6-1001-pop.html (Note: this is a QuickTime video – also I don’t use Dennis’ method for mounting the Faceplate but the rest of the video for the construction of the jig is important)
Changes to the jig by Dennis
https://www.youtube.com/watch?v=Ds9ByHkm26w
Using the jig
https://www.youtube.com/watch?v=QUUo__lRnDc
https://www.youtube.com/watch?v=d3fX884J8A4
https://www.youtube.com/watch?v=wUQ2XnRJesE
Index Wheels and the base
The index wheels can be downloaded from http://segmentedwoodturners.org/assets/bill_smith_files/ I started with 24 and 48 segment wheels.
I used a photocopier to reproduce the wheels such that half the wheel fitted on A3 paper, glued the 2 semi-circles to 6mm MDF with spray adhesive and cut the MDF to the outside diameter of that index wheel. This allows the wheel to fit within the 400mm diameter that I can turn on my lathe to true up the wheel later. Turn the MDF over and glue the other index wheel to that side.
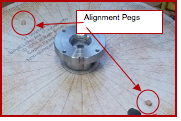
Next cut a matching circle of 19mm MDF for the base, align the 6mm and 19mm pieces and clamp them together while drilling holes to mount aligning pegs (6mm dowel) on opposite sides of the wheel. This will allow for the wheel to be changed from 24 to 48 segments and accurately realign the indexes. Repeat for any other segment sizes you will need.
What I did differently
The first issue to overcome is what to use in the centre to mount a Faceplate or chuck so the work can be taken from the jig to the lathe for truing up the face of a ring and remounting on the jig to construct the next ring. What is important is that whatever you use is mounted accurately and vertically onto the base.
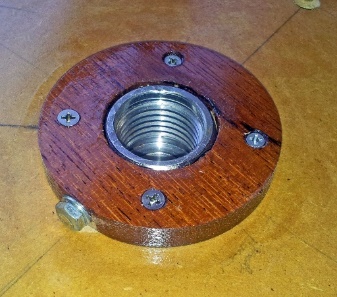
I have a Nova lathe and it came with an adaptor for Nova 1 ¼ 8TPI spindle to Vicmarc M30 x 3.5 spindle. The adaptor has a ¼” threaded hole for a grub screw so I made a collet from hardware (Kwila) and used this hole to mount the adaptor to the collet and then the collet to the base. I recommend that another hole be drilled and tap at 90 degrees to improve stability and would also make it easier to get the vertical alignment correct.
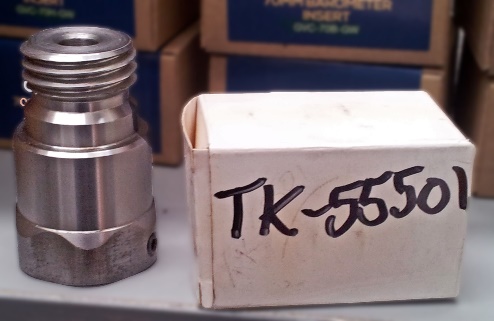
Care must be taken to get this vertical – I used the lathe to assist in the procedure. Once this is all together true up the edge of the base on the lathe so it will rotate evenly around the centre within the jig.
In the videos Dennis Edwards starts his construction with roller balls and changed to a Lazy Susan – I stated with the Lazy Susan but couldn’t get it to run true so changed to the roller balls and used 4 bearings mounted on ¼” bolts and T-Nuts to centre the frame.
This is done by mounting the roller balls near the outside of where the base will ride and the T-Nut fitted to scrap MFD then with the base in position, slide the scrap MDF with the bearing up to the base and secure with screws. Repeat for the other 3 bearing so the base is snug and will rotate easily.
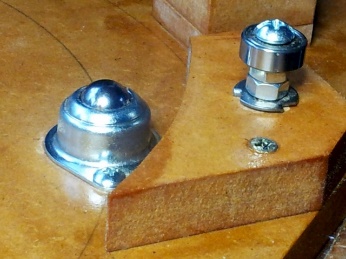
Give all surfaces a few coats of polyurethane finish for protection and to prevent moisture warping the jig.
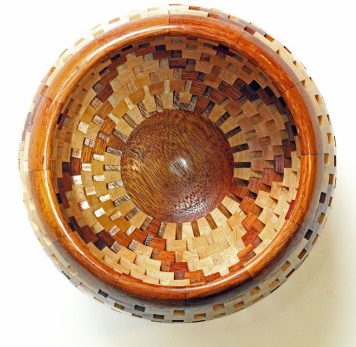
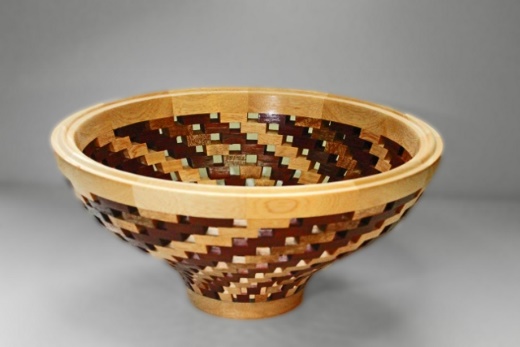
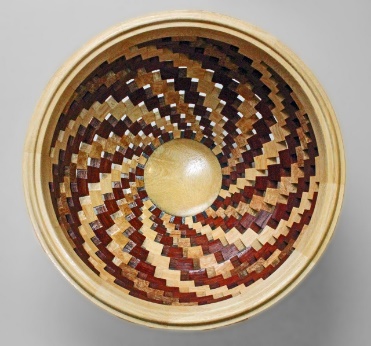
I made the rest of the jig as per Dennis’ videos except I used a bulldog clip glue to the aluminium channel slide with Araldite instead of a G clamp on the aluminium channel. Here are the results of my first 3 bowls made using the jig.
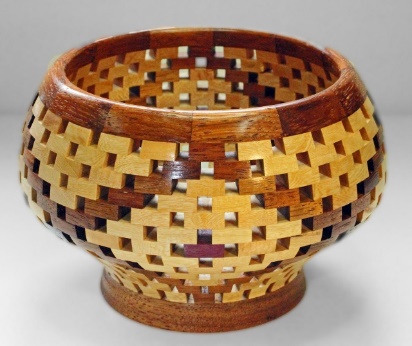
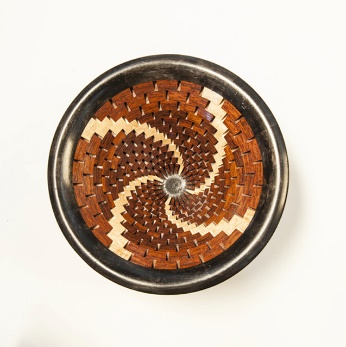
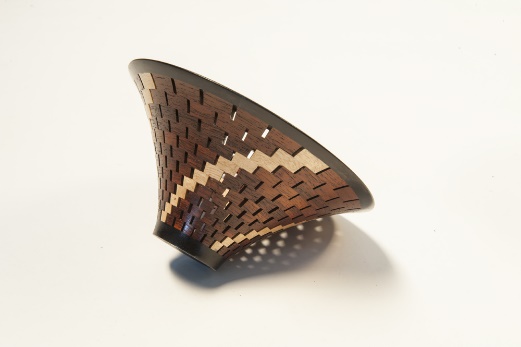
Software
For the design I use the Segmented Turning software from Bill Kandler see http://www.segmentedturning.com/. The software includes the capacity to stipulate the size of the gaps for open segments in either distance or percentage. Percentage is the best as this gives a varying gap width based on the diameter of the ring and thus enhances the look.
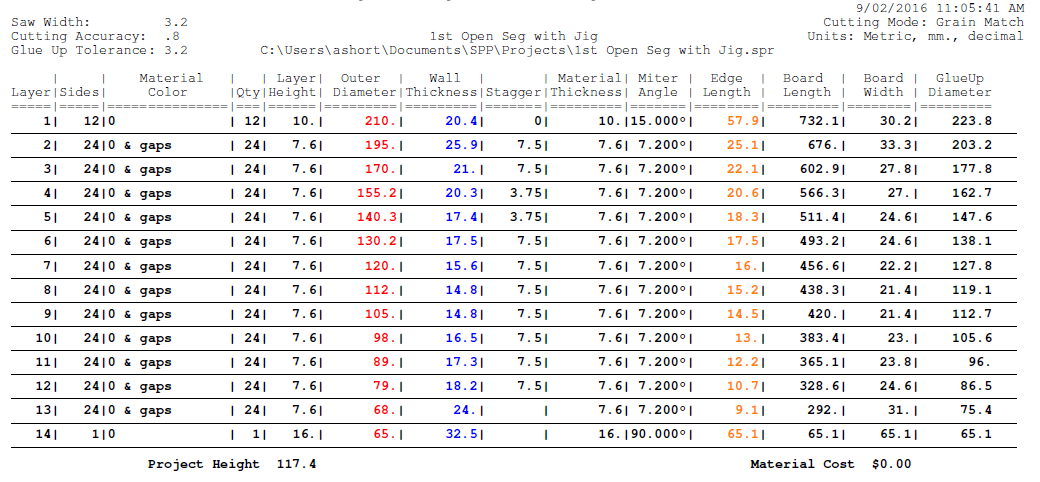
The software gives a cut list like this:
My 1st bowl: blanks square were Red Cedar and the red squares were Jacaranda:

My next bowl, blanks square will be Jacaranda, & I’m thinking Red Cedar, Forest Gum, Padauk and Camphor Laurel with a reddish grain:
Material List
| Item |
Source |
Item |
Source |
| 1 sheet of 19mm MDF 600 x 900mm |
Hardware store |
TK-55501 spindle adaptor |
Carbatec |
| Spray adhesive |
Hardware store |
6mm dowel |
Hardware store |
| 16mm (5/8:”) roller balls |
Carbatec |
¼” T-Nuts |
Carbatec |
| 4 bearings with 1/4” inner diameter |
Carbatec or Bearing Services Centre |
¼” bolts |
Hardware store |
| Various screws |
Hardware store |
19mm Aluminium channel |
Hardware store (Mitre10 for mine) |
| Bulldog clip |
Officeworks |
Araldite |
Hardware store |
| GH-201C Toggle Clamp |
Carbatec |
Perspex |
Local plastics fabricator |
| 2 foot x ¼” T-track |
Carbatec |
Polyurethane finish |
Hardware store |
Allan Short
Carbatec Brisbane