|
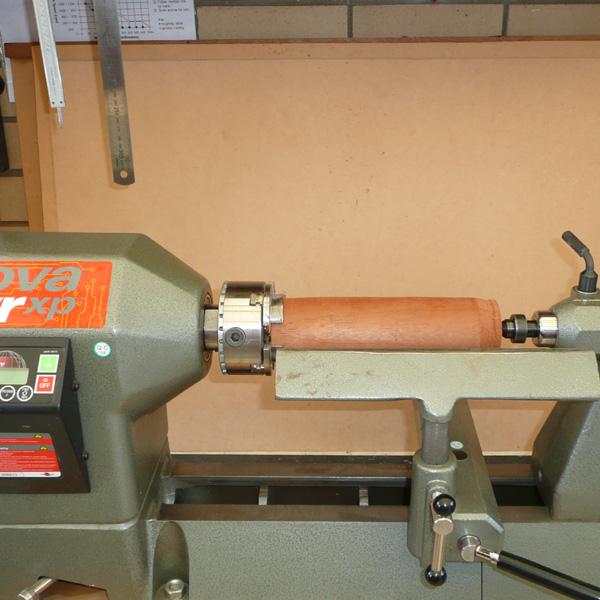
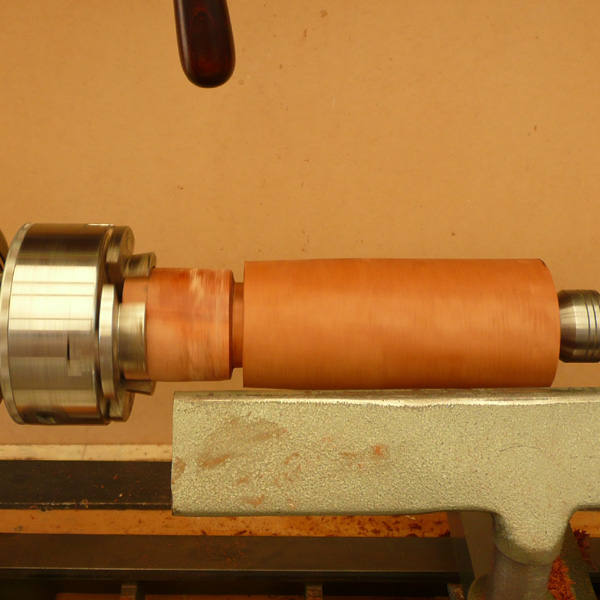
Step 1:
- Turn a suitable timber sample to 60mm diameter by approximately 230mm long
|
 |
|
|
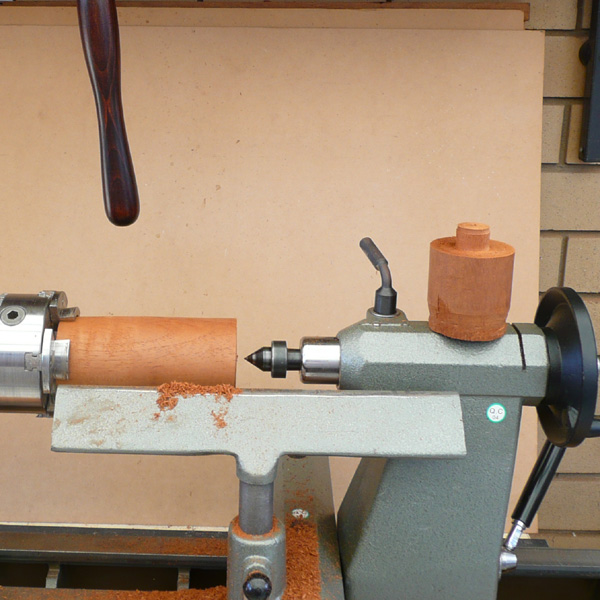
Step 2:
- Use a parting tool to separate the top from the body at 140mm.
- Leave 24mm diameter x 15mm long spigot on the end of the top...
|
 |
|
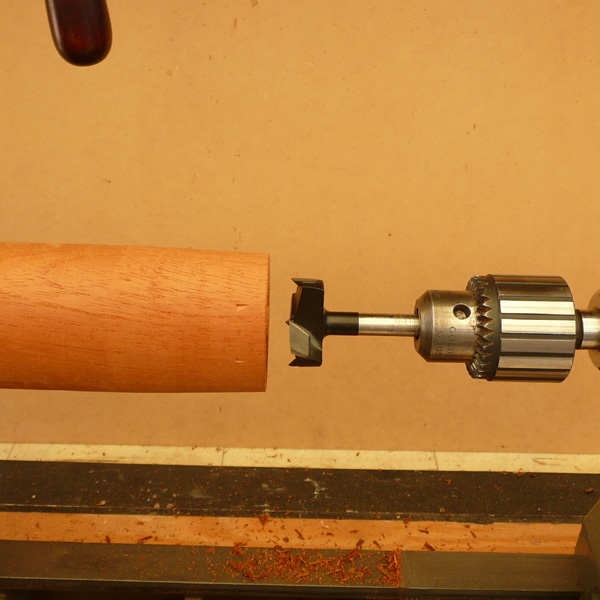
- ...and make a centre mark by bringing your live centre up to the body before drilling.
|
 |
|
|
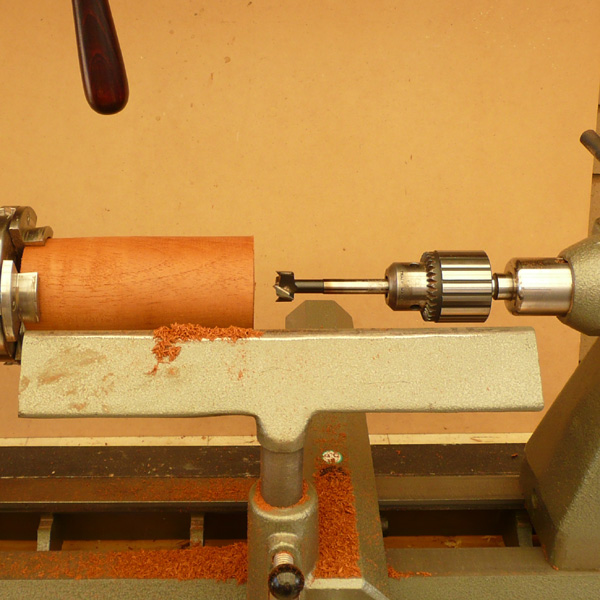
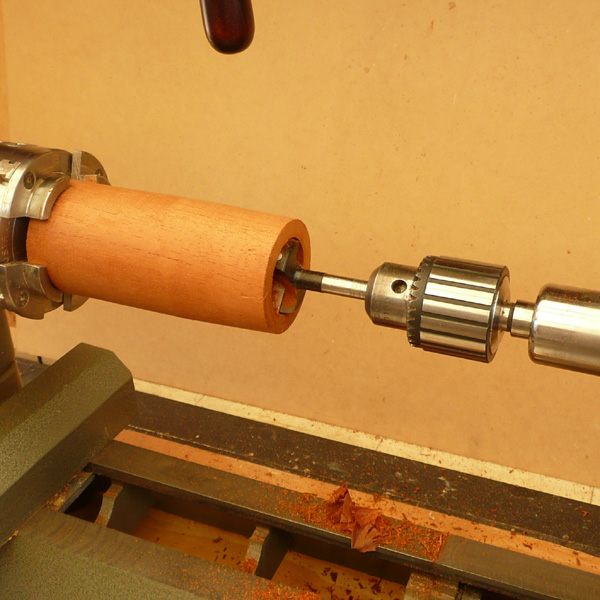
Step 3:
- Drill a 24mm hole half-way through the body while it is still mounted in the chuck.
|
 |
|
| |
 |
|
|
NOTE:
If using the ceramic pepper grinder kits (GRIND-7) you will need to drill a 28mm recess x 15mm deep at this stage of the process. This will allow the 'Ceramic' mill to into the base of the grinder.
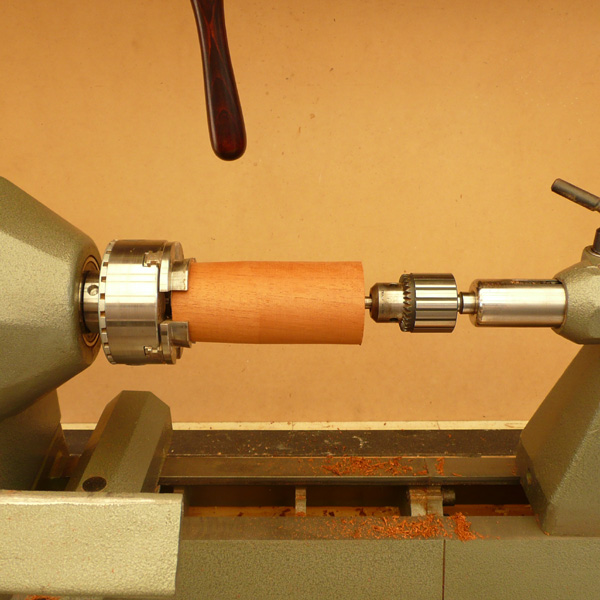
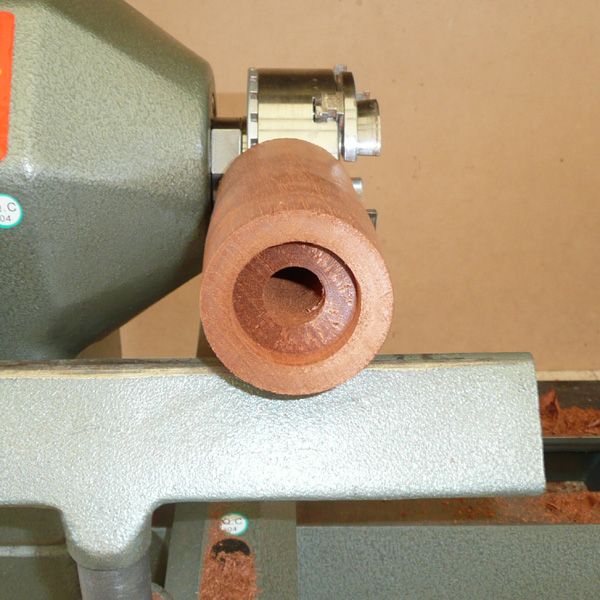
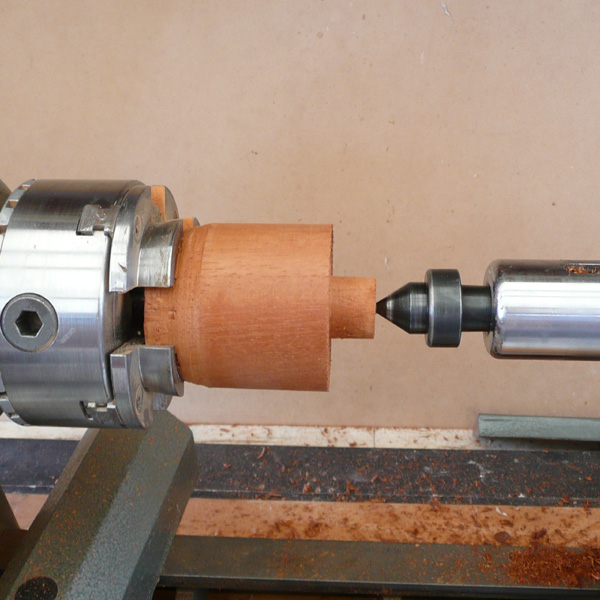
Step 4:
- Reverse the body in the chuck and prepare and drill a 40mm recess in the base of the body to a depth of 10mm...
|
 |
|
| |
 |
|
- ...then change back to the 24mm bit and complete drilling balance of centre of the body.
|
 |
|
|
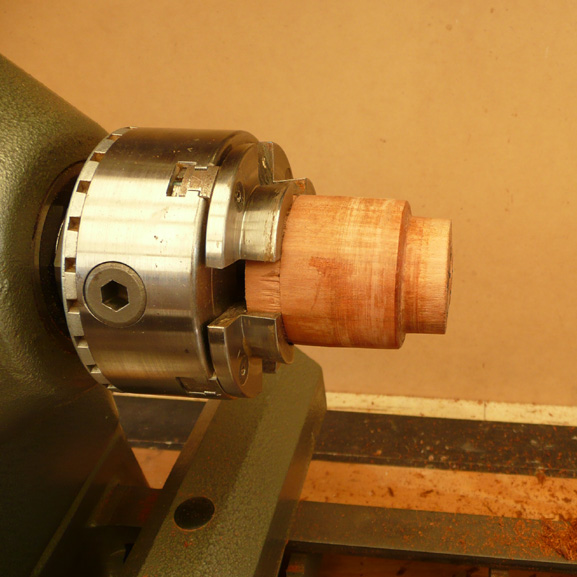
Step 5:
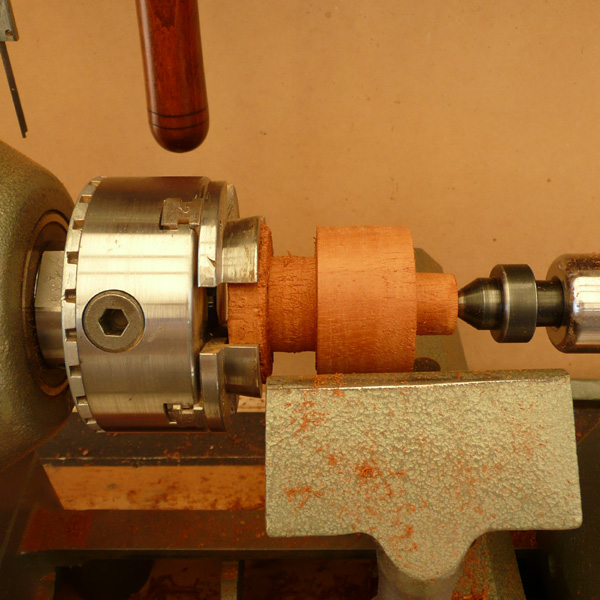
- Remount the body on the dummy 40mm spigot in a four jaw chuck.
- Bring up the live centre in the tail stock to align the body in preparation for final shaping and finishing...
|
 |
|
- ..then turn the body down to 57mm diameter.
- This will also remove any jaw marks and indentations.
|
 |
|
|
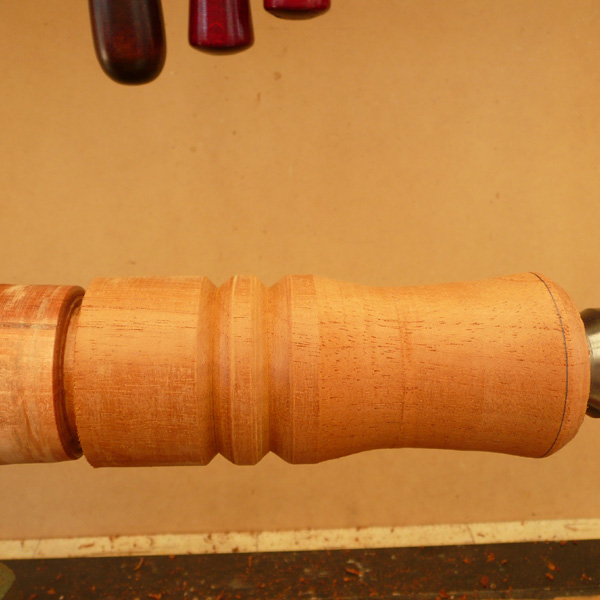
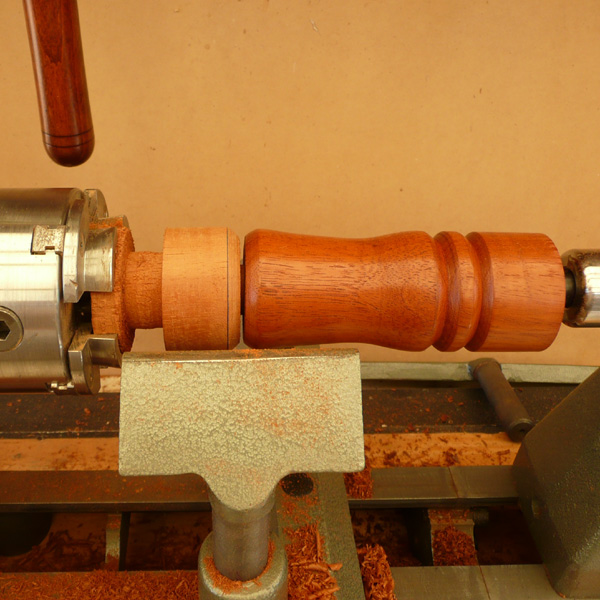
Step 6:
- Mark your preferred pattern on the body
- and turn and shape accordingly.
|
 |
|
|
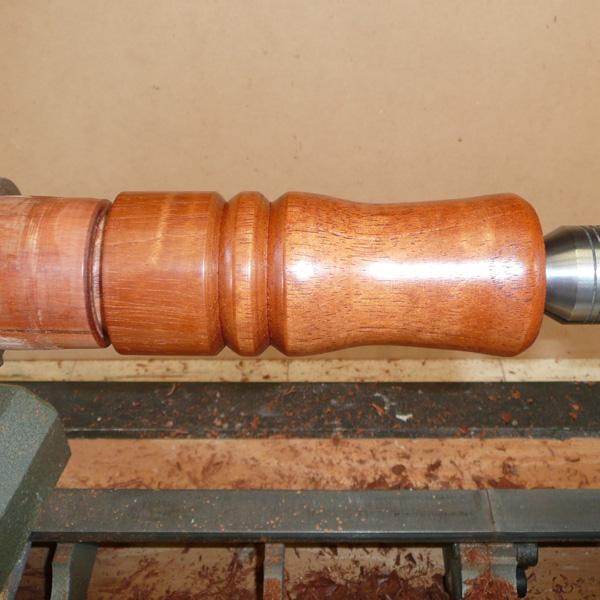
Step 7:
- Sand and finish with your preferred material.
- The project sample was sanded with 320 grit, 600 grit and 1200 grit papers.
- First coat was finished with U-Beaut EEE and final coat was finished with U-Beaut Shellawax Cream.
|
 |
|
|
Step 8:
- Mount the top in the four jaw chuck with the 24mm spigot facing out.
- Align with the live centre, then check-fit the spigot into the 24mm hole through the centre of the body.
- Adjust the spigot accordingly until slightly loose fit achieved.
- Turn the top to 57mm diameter in preparation for final shaping and sizing.
- Drill 6mm hole through the centre of the top.
|
 |
|
|
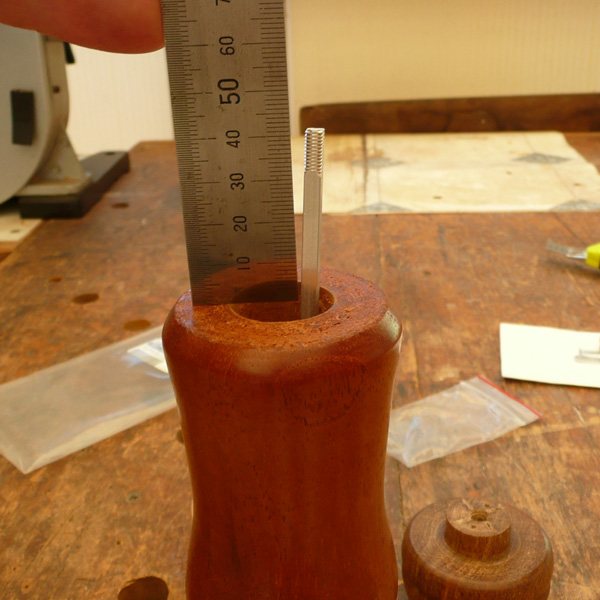
Step 9: Trial-fit grinder kit to body to ascertain final size required for the top. Allow for 8mm of thread to protrude from the top.
|
 |
|
Also check that top and body match diameter where they join...
|
 |
|
...then mark the top size as required, then turn waste end to approximately 40mm diameter in preparation for shaping top and finishing.
|
 |
|
|
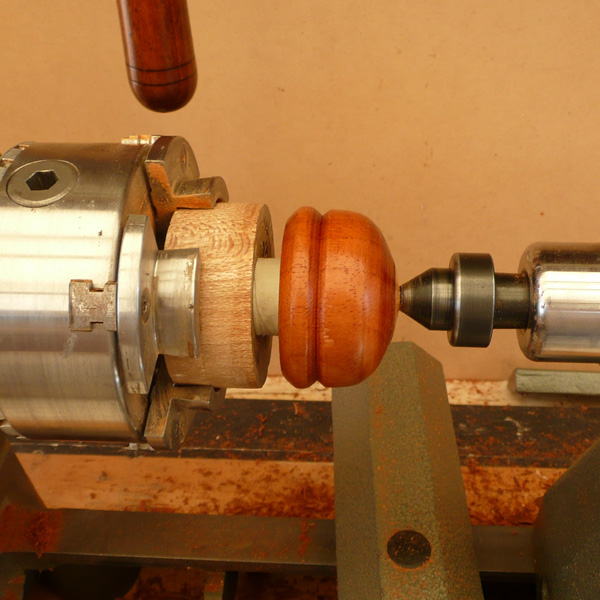
Step 10:
- Mark preferred pattern and then shape and finish.
- Part at nominated mark, check that all grinder kit parts fit as required.
- Then reverse mount the top into the dummy block in the chuck with pre-drilled 24mm recess, make any necessary adjustments to length or fit and then give a final finish to the top.
|
 |
|
|
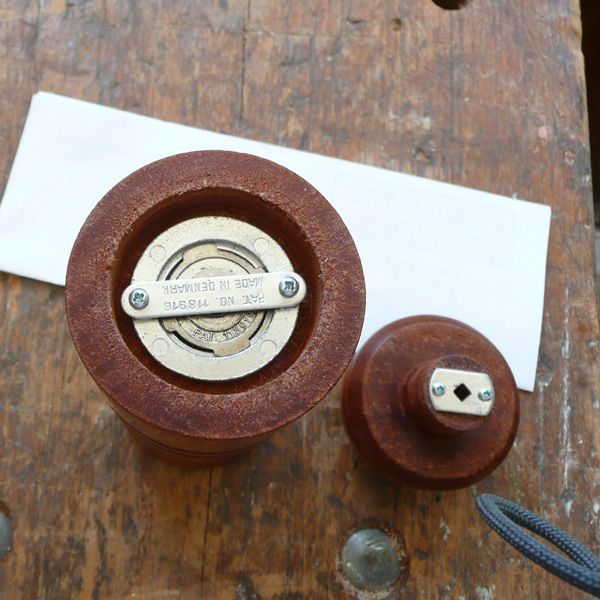
Step 11:
- Assemble the grinder.
- Fit small plate to 24mm spigot on the top.
- Use shaft provided to ensure plate is centred...
|
 |
- ...then assemble grinder parts and fit to the 40mm recess at the bottom of the body.
- Pre-drill screw holes if using hardwood.
|
 |
|
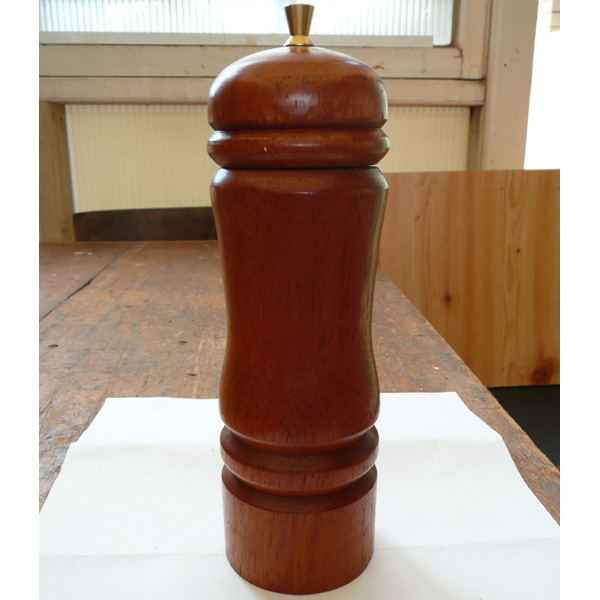
...and there you you have it, a beautifully made pepper grinder ready to use.
|
 |