
We’re excited to introduce the brand-new Carbatec online experience, rebuilt from the ground up to make shopping, tracking orders, and managing you...
Read MoreTransform Your Woodworking with Japanese Saws: The Precision Tool Every Craftsperson Needs.
Read More
Pens for The Troops is a community-based project that honours and supports Australian troops serving overseas.
Read More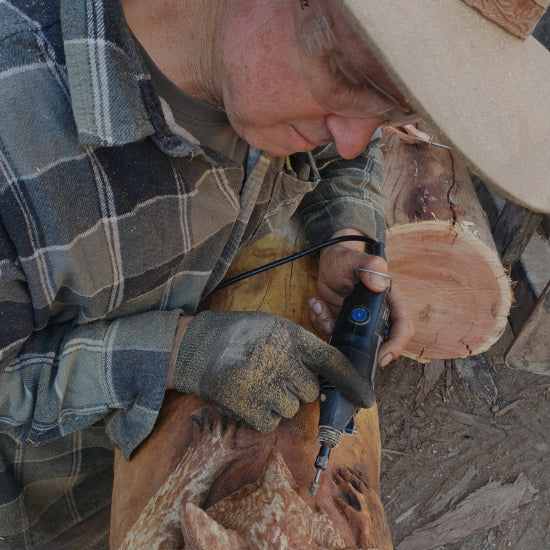
Woodworking is more than just a craft—it’s a passion, a journey, and sometimes, an unexpected adventure. Just ask Linton Torr from Raw Boards.
Read More
This prestigious event is the ultimate platform for woodworkers to demonstrate their craftsmanship and push the boundaries of creativity.
Read More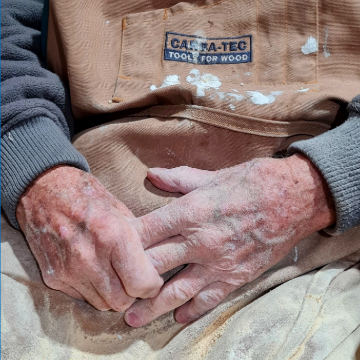
At 93, Bruce Young is still shaping wood, and inspiring lives. From benches to fine trims, his decades of craft at Henty Men's Shed tell a powerful...
Read More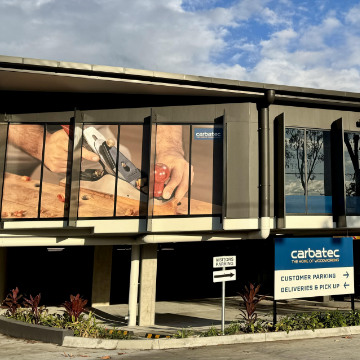
Carbatec opens its stunning new flagship store in Tingalpa! Discover Australia’s ultimate woodworking destination, packed with premium tools and ha...
Read More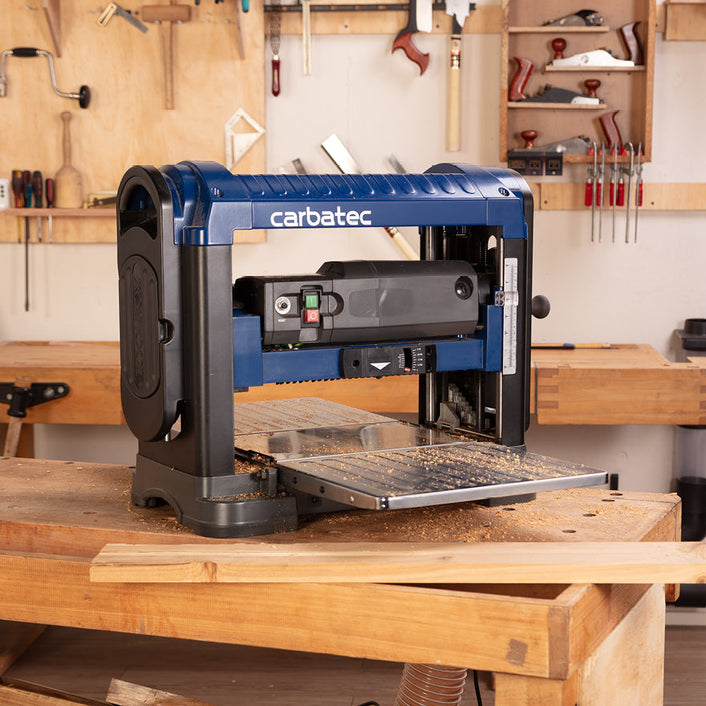
Tight on space? Benchtop machines are small in size, big on impact, versatile, affordable, and perfect for any compact workshop.
Read More