Carbatec has once again sponsored the Australian Wood Review in their yearly Student Awards for 2016! Students from year 11 and 12 submitted their work to be assessed by a panel of judges across several categories of skill sets. Every year we are continually impressed by the techniques and designs of projects ranging from guitars to godfather clocks and are happy to have the privilege to award the best with our quality products.
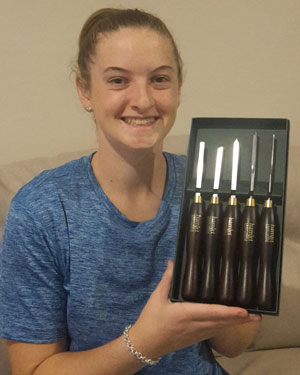
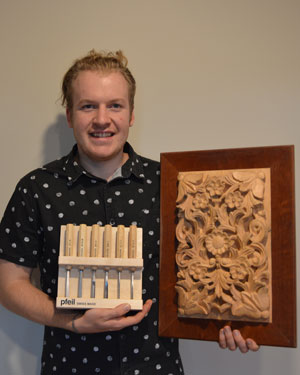
For Carbatec, this is a particularly great opportunity to support the budding craftsmanship of aspiring woodworkers where their works can be awarded with quality woodworking prizes to encourage future projects. For the 2016 awards, Carbatec awarded the student with the Best Carving with a Pfeil 6 Piece Carving Set, the Best Turning a Hamlet 5 Piece Miniature Turning Set and the Best Hand Skills a Veritas Apron Plan. With those, we hope that these students can capitalise on their impressive skills in wherever their passion lies.
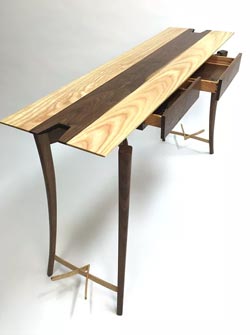
This year the Overall Best winner is awarded to Isaac Williams with his stunning Guitar Stand Hall Table. With both practically and superior craftsmanship, Williams proved to be the Overall Best for 2016.
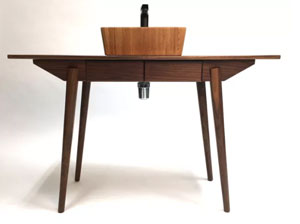
Kate Spencer won the category of Best Design with her Timber Bathroom Vanity. Her beautiful timber vanity showed off her complex woodworking techniques to create an elegant and seamless design.
Lastly, the Best Hand Skills goes to Frazer Crowe and his extraordinary Tortoise Kayak. It is not hard to see why this award goes to him due to the stunning finish and magnitude of his project.

The other winners one the day were;
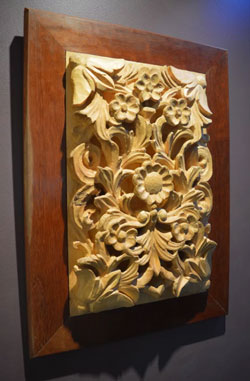
Best Carving: Cameron Cornish with his Floral Woodcarving
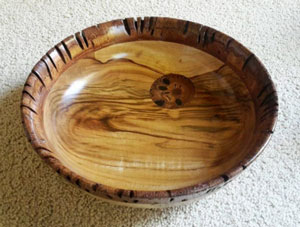
Best Turning: Samantha Fulwood with her Banksia Nut Bowl
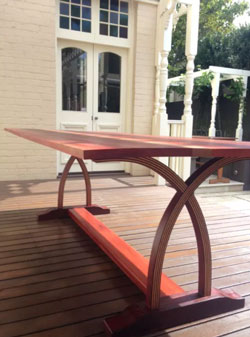
Best Use of Nature Timbers: Harrison Bennie with his Modern Outdoor Refectory Table
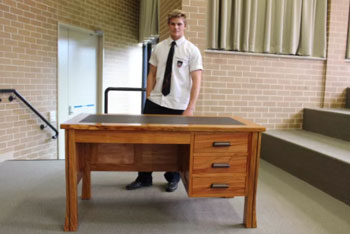
Popular Choice Award: Nathan Jurd with his Architecturally Inspired Study Desk
We are excited to be able to provide Samantha Fulwood, Cameron Cornish and Frazer Crowe with gifts from Carbatec!
For any young woodworker, feel free to come in-store and talk to our friendly and experienced staff for any queries or questions. We would love to hear what about your next project or help you out getting started! |