
There is nothing more rewarding than creating something special for the home that you use regularly.
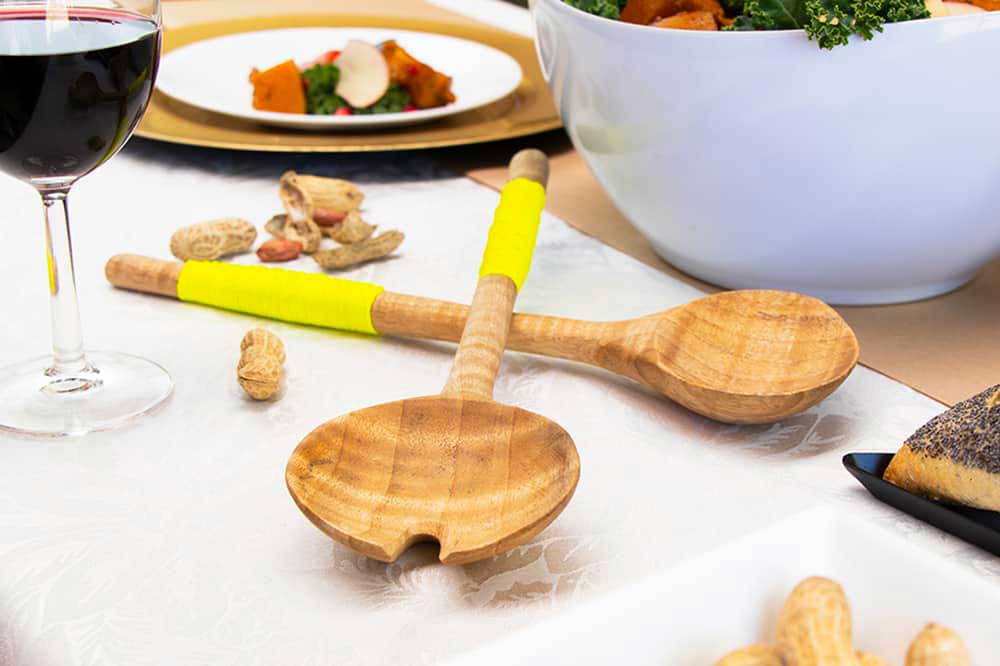
Salad servers are a must-have for every kitchen so these popular utensils will appeal to most. If not for your own kitchen, this simple project makes it an easy and thoughtful gift idea. Best of all, there are so many ways that you can really personalize the ‘spoons’ to suit your taste, from the style of the spoons head and handles to the bright coloured thread you use to wrap the handles. Great fun to make and the perfect gift idea too.

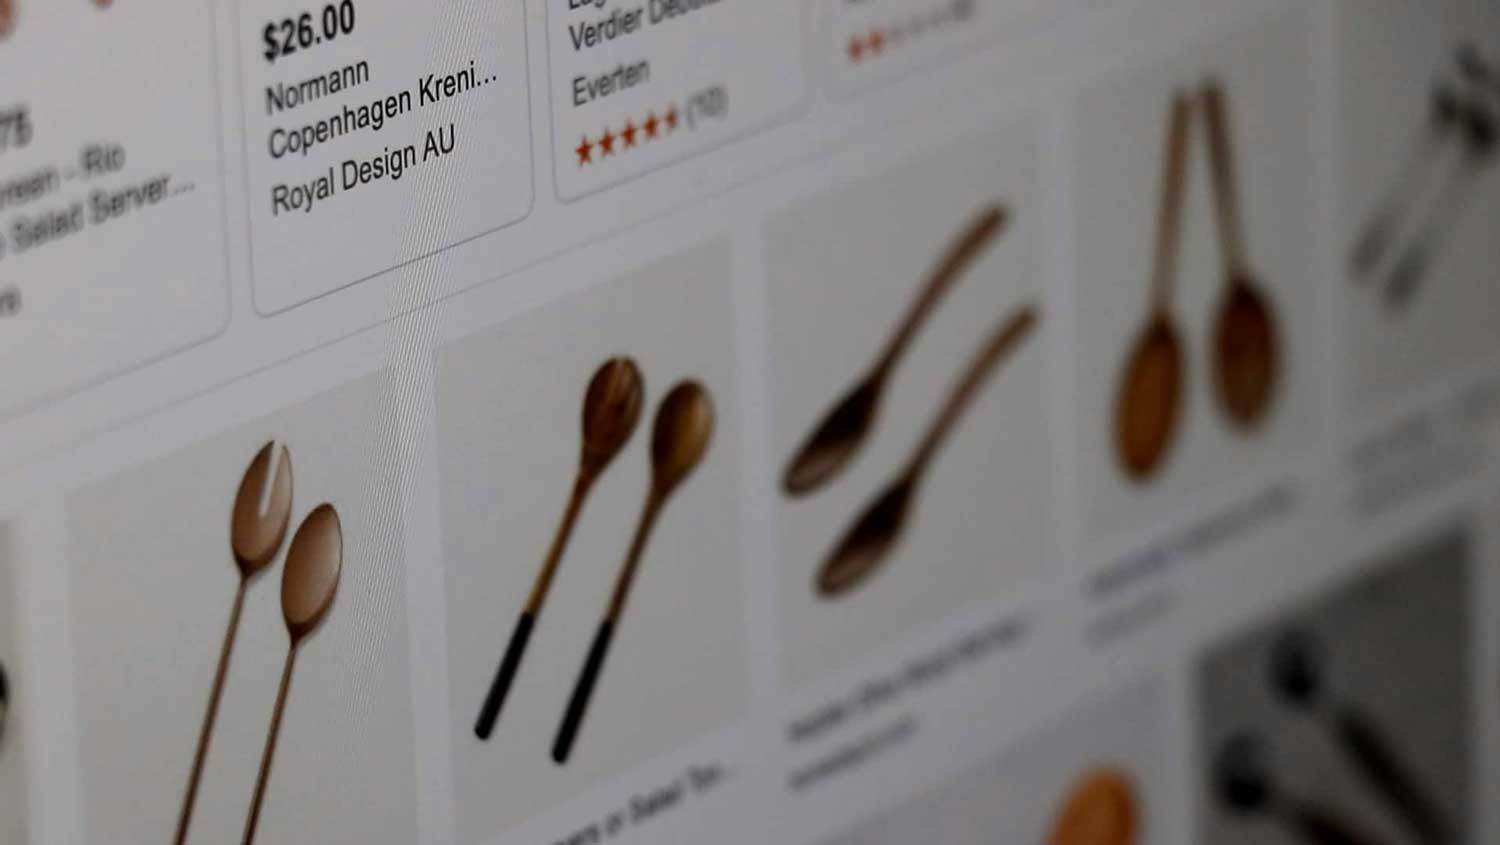

Find inspiration from anywhere you like
Look online (Pinterest is a great resource) or select and draw the outline of your favourite servers. Then find the wood you want to work with. The size will depend on the style of Salad Servers you want to create For our spoons we used timber that was at least 1.5 inches (4cm) thick and 1 foot (30 cm) long.
Once you have your wood and design ready, go ahead and draw or transfer your design onto your timber (top to tail is best to not waste wood). Mark out the bowl of the head of the spoon and separate the spoons (using hand saw) so you are only working on one at a time.

When selecting wood, consider selecting one that has naturally occurring antibacterial properties as you’ll be making utensils designed to serve food. We used Camphor Laurel, but Olive wood is also another good option. You can try your local lumber yard to find the suitable timber.

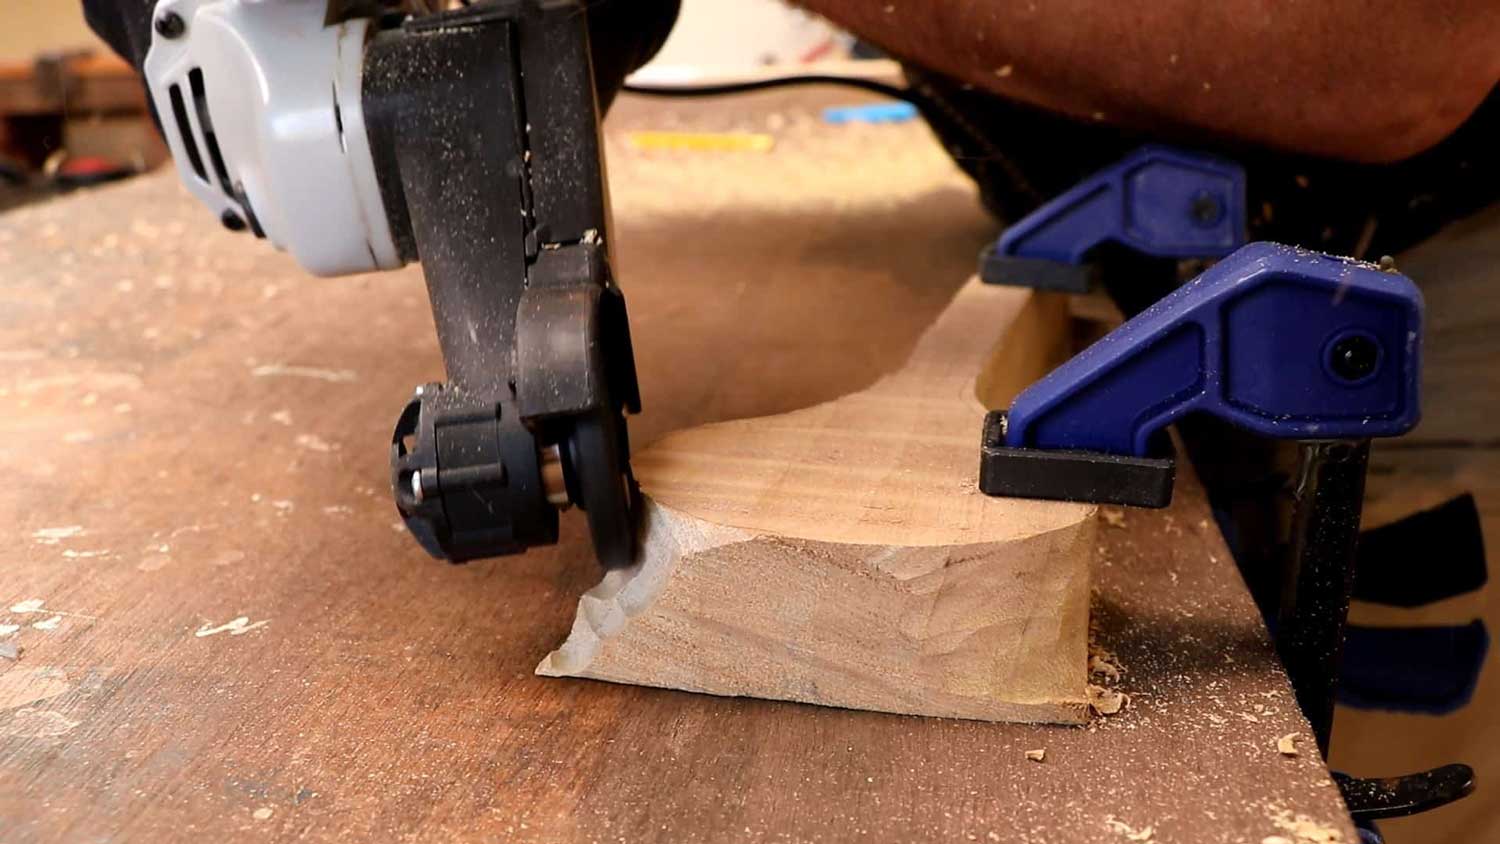

Clamp and carve
With the Mini Pro Blade, cut the outside of your outline. From there, start to gently carve the excess wood in an outward motion. Do the same evenly all around the spoon. We know it’s fun (especially with the Mini Pro melting the wood away like butter), but don’t worry about shaping the curves of the spoon just yet. That comes in later!
Rough shaping of the handle
Mark out the side profiles. You can either use a side profile template or hand draw it just like we did. It’s easiest to start on the handles as they will be the most consistent part. Gently start on the top side of the handle and carve away the wood until you reach the top of the side profile outline you drew. Then you can start shaping the rounded form of the handle. Turn over and do the same on the back.
The top and the bottom of the spoon is not necessarily flat so you need to consider curves of the spoons from the sides.
Rough shaping the head of the spoon
Gently blend the neck to meet the marked out dish of the spoon. Then hollow out the dish of the spoon which creates a subtle peak where the neck and the bowl meet. Turn over and blend the handle of the spoon into the convex back of the spoon. Slow and steady here is key!
Compare the two spoons and make minor adjustments until you are happy.
Rough sanding / gentle shaping
Sand to further refine the curves of the spoon and remove any rough patches. Start with a coarse grit, then move to finer, until the spoons are ready for final sanding and a completely smooth finish. Your servers should be taking shape at this point with only a few finishing touches to go.
Reduce the speed of the Mini Carver to 3 for controlled fine shaping and sanding, this also avoids burning the wood.
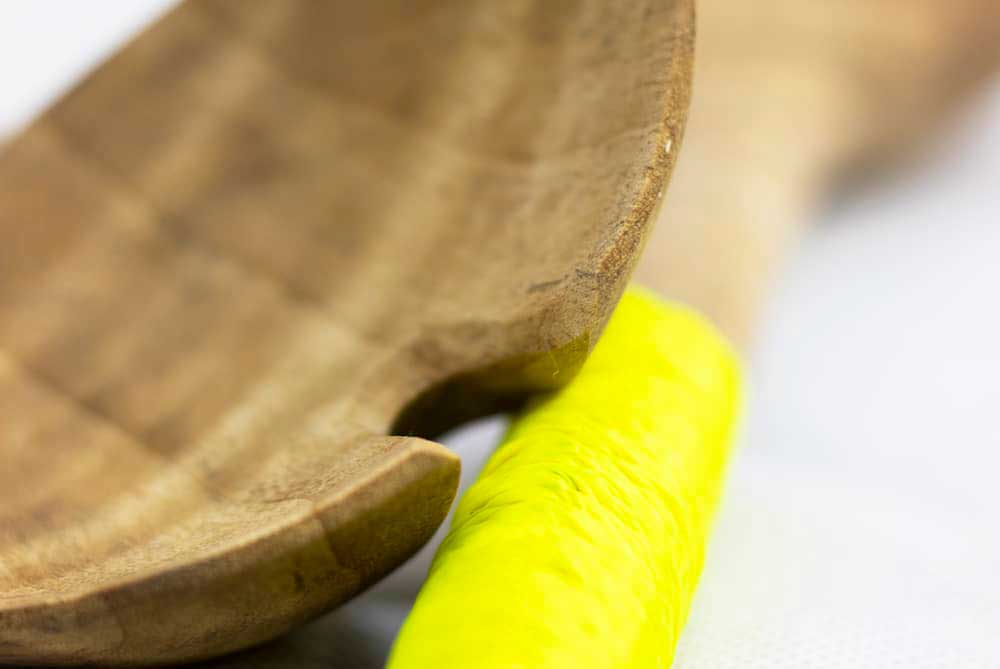
Turn one of the servers into a fork server
With the Mini Pro Blade, carve out a slot in the middle of one of the servers to create a fork server. Switch to a medium grit sanding disc to achieve a smooth finish.
Recessing the handle
Decide how big you want the handle grips to be and mark them out. Clamp the head and carefully recess the marked areas with medium-grit sanding disc and consider the thickness of the thread while you’re doing this.
Final sanding and oiling
You can use any fine grit sandpaper for this, but we used the Contour Sander because it’s a lot easier and faster, giving it a smooth polished finish.
Sand the spoon avoiding the recessed part. A rough handle provides additional friction for the thread to grip to. Now You are ready to oil!
When selecting an oil, select a food-grade oil or as an example, if you use olive oil don’t use cold-pressed.
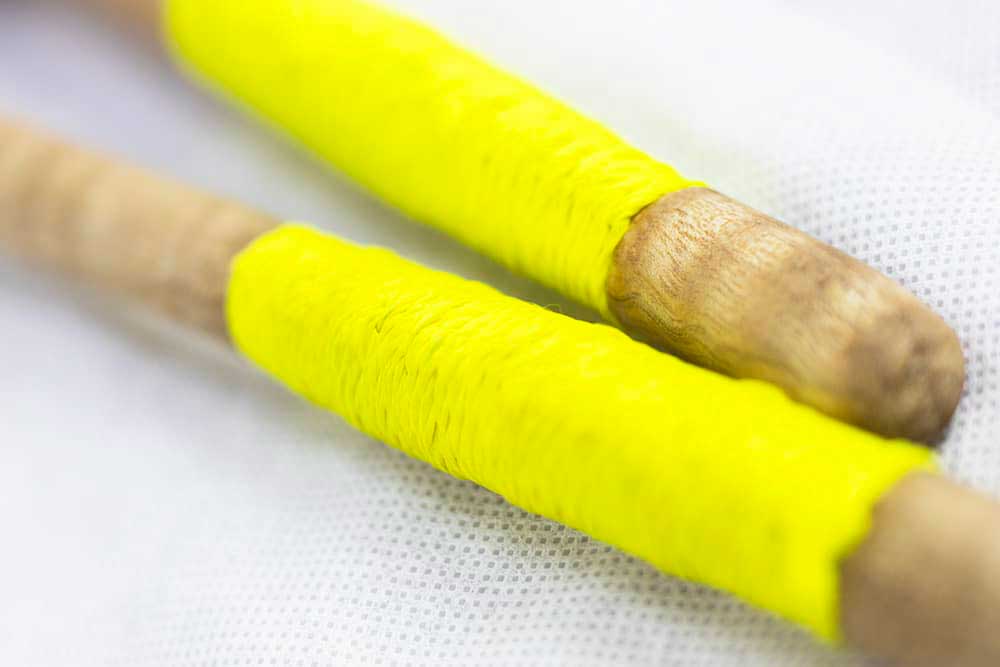
Add finishing touches
You’re almost there. All you need to do now is to tie up a thread around the handles of the servers to give them a more colourful pop. There are so many thread wrapping techniques, simply find one you like and give it a go!
When selecting thread, consider a synthetic material as it will increase durability.